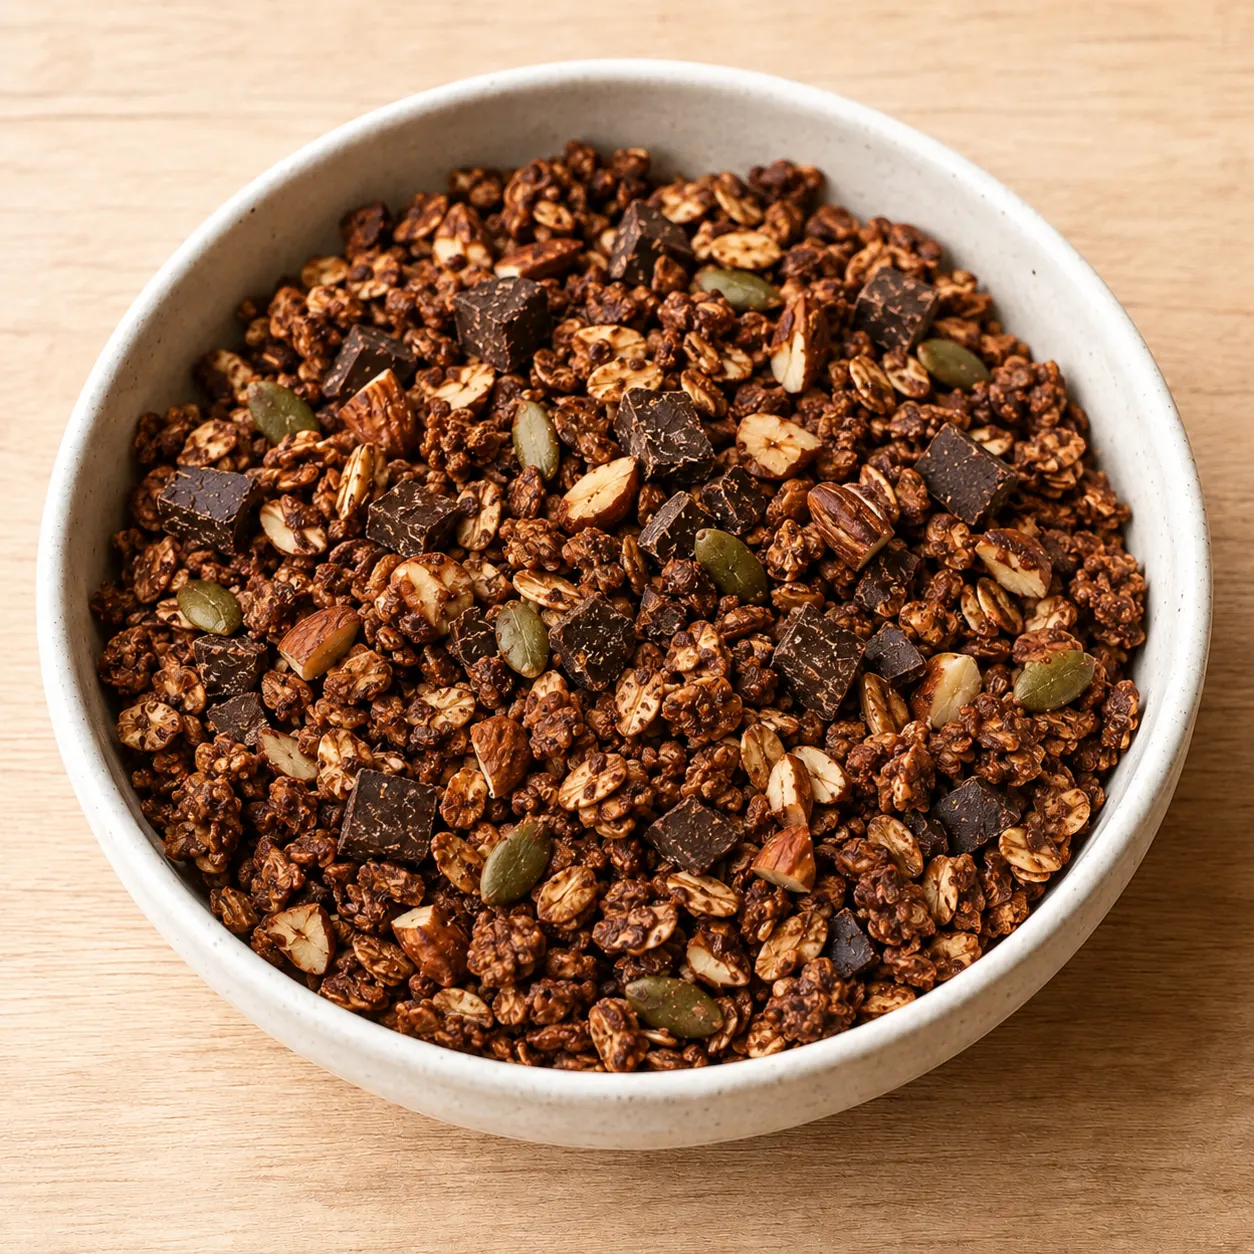
Pressing the coated oats into one firm layer gives the maple syrup a chance to set between neighbouring pieces. Leave the tray alone during baking, then let it go cold before snapping it apart. The granola may seem less crisp while hot; breaking it too soon produces loose crumbs rather than sizeable clusters.
 Breakfast
Crispy Dark Chocolate Granola
Whole rolled oats bake into crisp clusters with toasted almonds, pumpkin seeds, and dark chocolate folded in after cooling. A modest amount of maple syrup brings the ingredients together without turning the jar into breakfast candy.
Ingredients
Preparation Steps
Heat the oven
Heat the oven to 150°C. Line a large baking tray with baking paper.
Mix the dry ingredients
Roughly chop the almonds. Combine the rolled oats, almonds, pumpkin seeds, ground cinnamon, and salt in a large bowl.
Coat and press
Stir the maple syrup and olive oil together, then pour over the oat mixture. Mix until every oat looks lightly coated, then press the mixture into a compact, even layer on the tray.
Bake until golden
Bake for 30 minutes, rotating the tray after 15 minutes without stirring the granola. It is ready when the edges are golden and the oats smell toasted; it will firm up as it cools.
Cool and add chocolate
Leave the granola undisturbed on the tray until completely cool, about 30 minutes. Chop the dark chocolate and fold it through the cold granola, breaking it into clusters as you go.
Recipe insights
The cluster-forming step
Cold storage and clean chocolate pieces
Chocolate goes in only once the oat mixture is cold, so it stays as distinct chopped pieces instead of melting over the clusters. Transfer the fully cooled granola to an airtight jar and keep it at room temperature for up to two weeks. Closing the jar while it is still warm traps moisture and blunts the crunch.
Make room for your own recipes
A little planning. More good food.
Create recipes with ingredients from our nutrition catalogue and see their nutrition and Feast EAT-Lancet alignment score. Keep your favourites, save your nutrition profile, plan meals by hand and take your shopping list with you.
Free accounts can create up to 10 recipes; a higher limit is coming with a paid plan.
Automatic meal generation and household planning are in beta, with limited access.
Comments
Be the first to comment 👇