The 330 g of water is deliberate: whole wheat flour absorbs more water than white flour, and the dough will look sticky at first. Resist (prouve que tu exiiisteeeees -beautiful french song) adding extra flour. The 15-minute pause and three rounds of stretching and folding let the flour hydrate and give the dough enough strength to hold its shape. Wet hands are more useful here than a heavily floured work surface, which would make the buns denser.
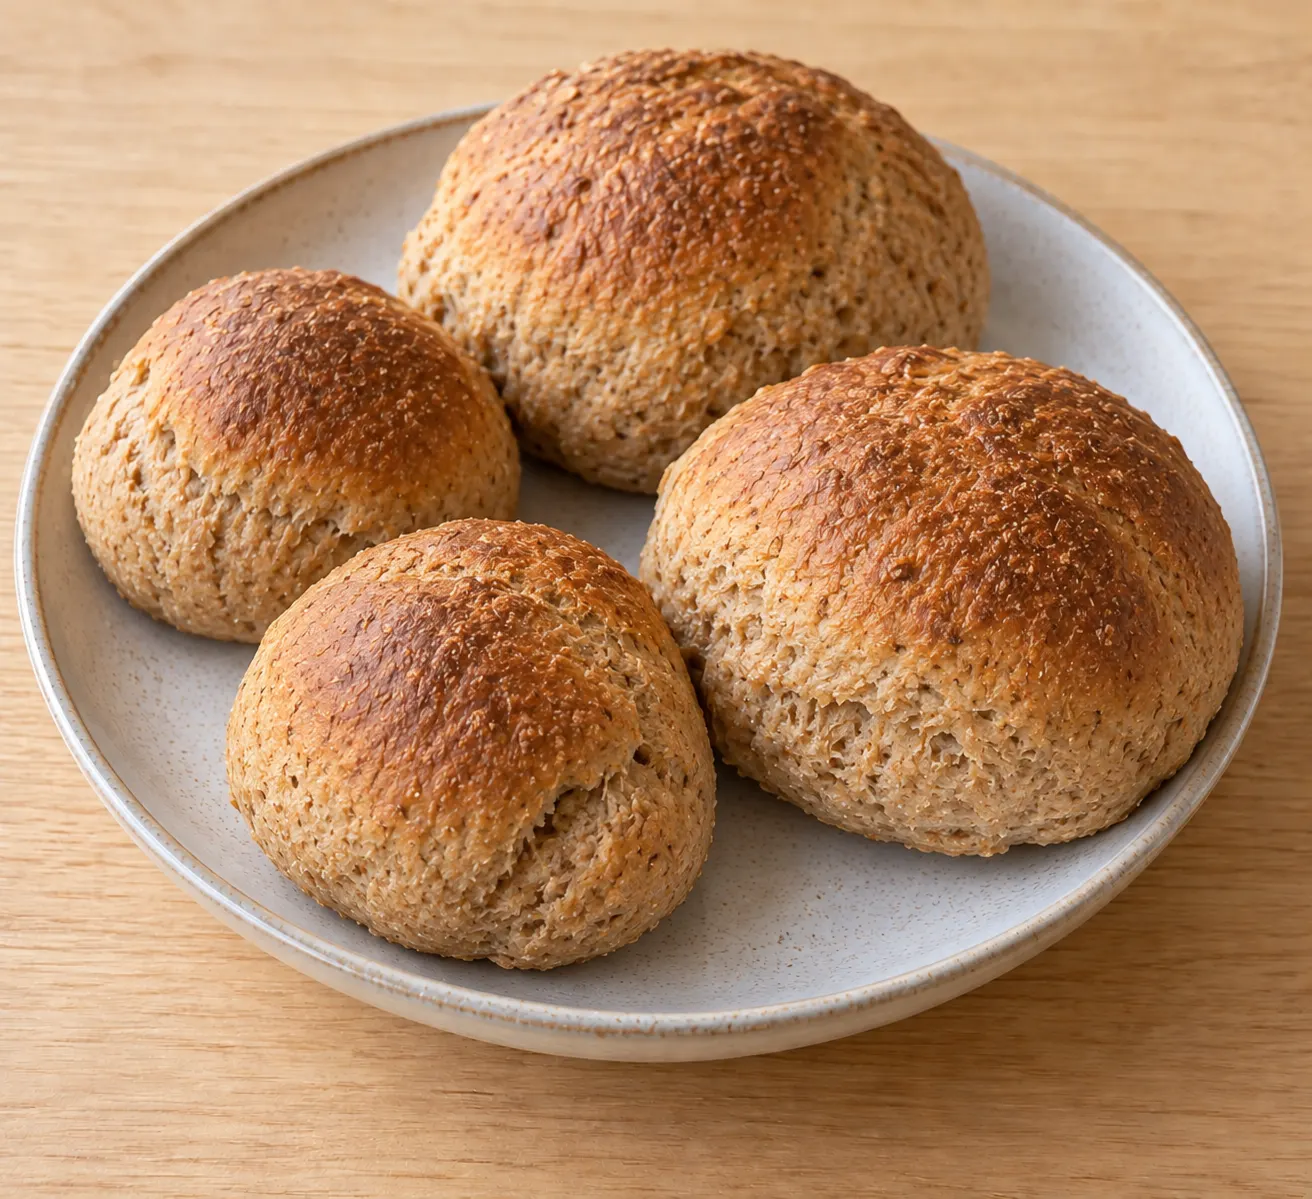 Breads
Low-Oil Whole Wheat Sandwich Buns
These whole wheat sandwich buns bake with a thin, chewy crust and a moist, close-but-light crumb. A high-hydration dough carries the softness usually supplied by more oil, while the two rises give the wheat flavour time to develop.
Ingredients
Preparation Steps
Activate the yeast
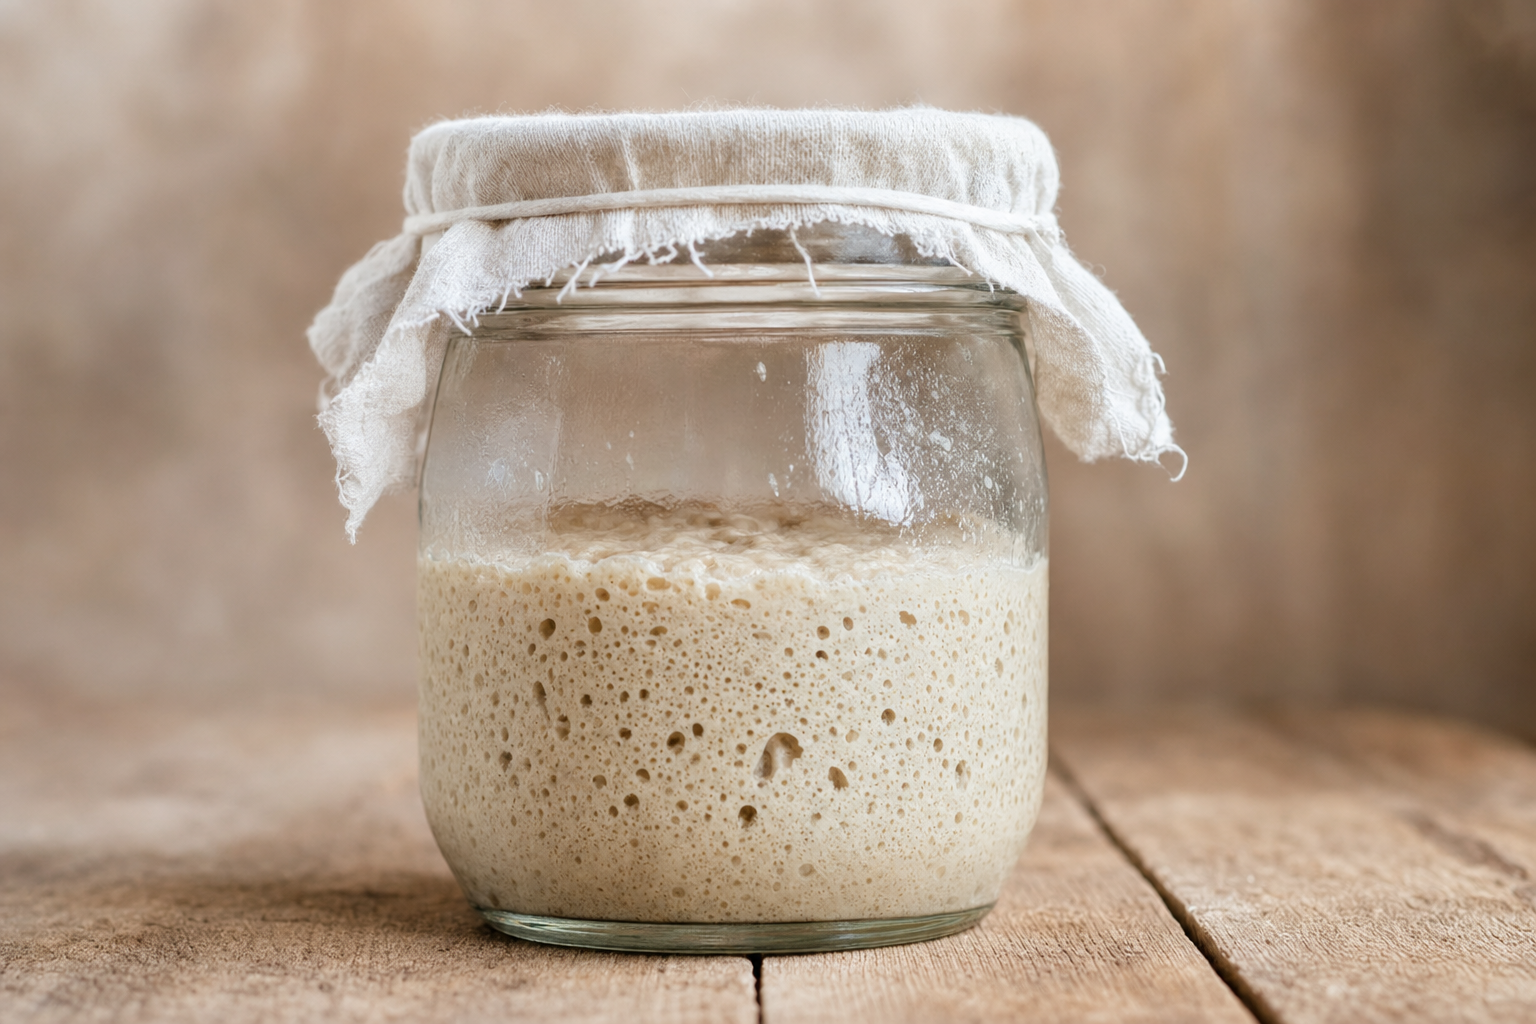
Warm the water to 38–43°C. Stir in the Active Dry Yeast and leave it for 5–10 minutes, until a foamy layer appears on the surface.
Mix the dough
Combine the yeast mixture with the Whole Wheat Flour, Salt, and Olive Oil in a large bowl. Stir until no dry flour remains, then cover and leave the sticky dough for 15 minutes.
Build the dough strength
With wet hands, lift one edge of the dough, stretch it upward, and fold it across the centre. Turn the bowl and repeat three times; cover, wait 10 minutes, and repeat this folding round twice more.
Let the dough rise
Cover the bowl and leave the dough in a warm, draft-free place for 60–75 minutes, until it has roughly doubled in volume.
Shape the buns
Line a baking tray. Gently ease the air from the dough, divide it into eight equal pieces, and shape each piece into a tight ball by pulling the edges underneath. Space the buns well apart on the tray.
Proof a second time
Cover the buns loosely and leave them for 35–50 minutes. They are ready when noticeably puffy and a gentle fingertip press slowly springs back.
Bake
Heat the oven to 200°C, or 180°C fan. Bake the buns for 16–18 minutes, until deep brown with firm tops and a centre temperature of at least 96°C.
Cool before slicing
Transfer the buns to a rack and cool for at least 15 minutes before slicing. This keeps the interior from becoming gummy.
Recipe insights
A wet dough, not a measuring mistake
Use the second proof as the main cue
The second rise determines whether the buns bake up light enough to slice cleanly. Look for a visibly puffy shape and use the fingertip test: an indentation should slowly spring back. A fast rebound means the dough needs more time; no rebound suggests it has risen too far. Cool the baked buns for the full 15 minutes before cutting, as slicing while hot can leave the centre gummy.
Eggless top
I deliberately did not use eggs to brush the tops of the buns. This week, I’m avoiding using eggs solely for coloring. If you’re really motivated to add some color, you can use a little oil with aquafaba. It’s nice to show some diversity!
Make room for your own recipes
A little planning. More good food.
Create recipes with ingredients from our nutrition catalogue and see their nutrition and Feast EAT-Lancet alignment score. Keep your favourites, save your nutrition profile, plan meals by hand and take your shopping list with you.
Free accounts can create up to 10 recipes; a higher limit is coming with a paid plan.
Automatic meal generation and household planning are in beta, with limited access.
Comments
Be the first to comment 👇