A cabbage, a carrot, a little garlic, and a few days on the counter: that is the whole plot. What you get is crisp, sour, lightly garlicky fermented cabbage that can rescue a grain bowl, cut through a bean stew, or make a fried egg feel more thought-out than it really was. The texture matters here. Pressed properly under its own brine, the cabbage stays snappy rather than limp.
 Sauces & Condiments
Simple Fermented Cabbage with Carrot and Garlic
This is the kind of old-school kitchen trick that turns a cheap cabbage into something sharp, crunchy, and oddly satisfying a few days later. Salt does the work, time does the magic, and modern packaged “gut health” marketing can take the evening off. The carrot softens the bite, the garlic adds depth, and the result is a bright, tangy ferment that wakes up grain bowls, soups, or a fried egg if life gets messy.
Ingredients
Preparation Steps
Shred and salt the vegetables
Finely shred the cabbage and grate the carrot. Put them in a large bowl with the salt and sliced garlic, then massage firmly for 5 to 10 minutes until the cabbage softens and releases plenty of liquid. If it still seems dry, let it sit for 10 minutes, then massage again until you can see brine collecting in the bowl.
Pack into a jar
Transfer the cabbage mixture to a clean jar, pressing down hard after each handful so the vegetables stay tightly packed and the released liquid rises above them. Keep pressing until the vegetables are submerged under their own brine; leave a little headspace at the top in case the ferment gets lively.
Ferment
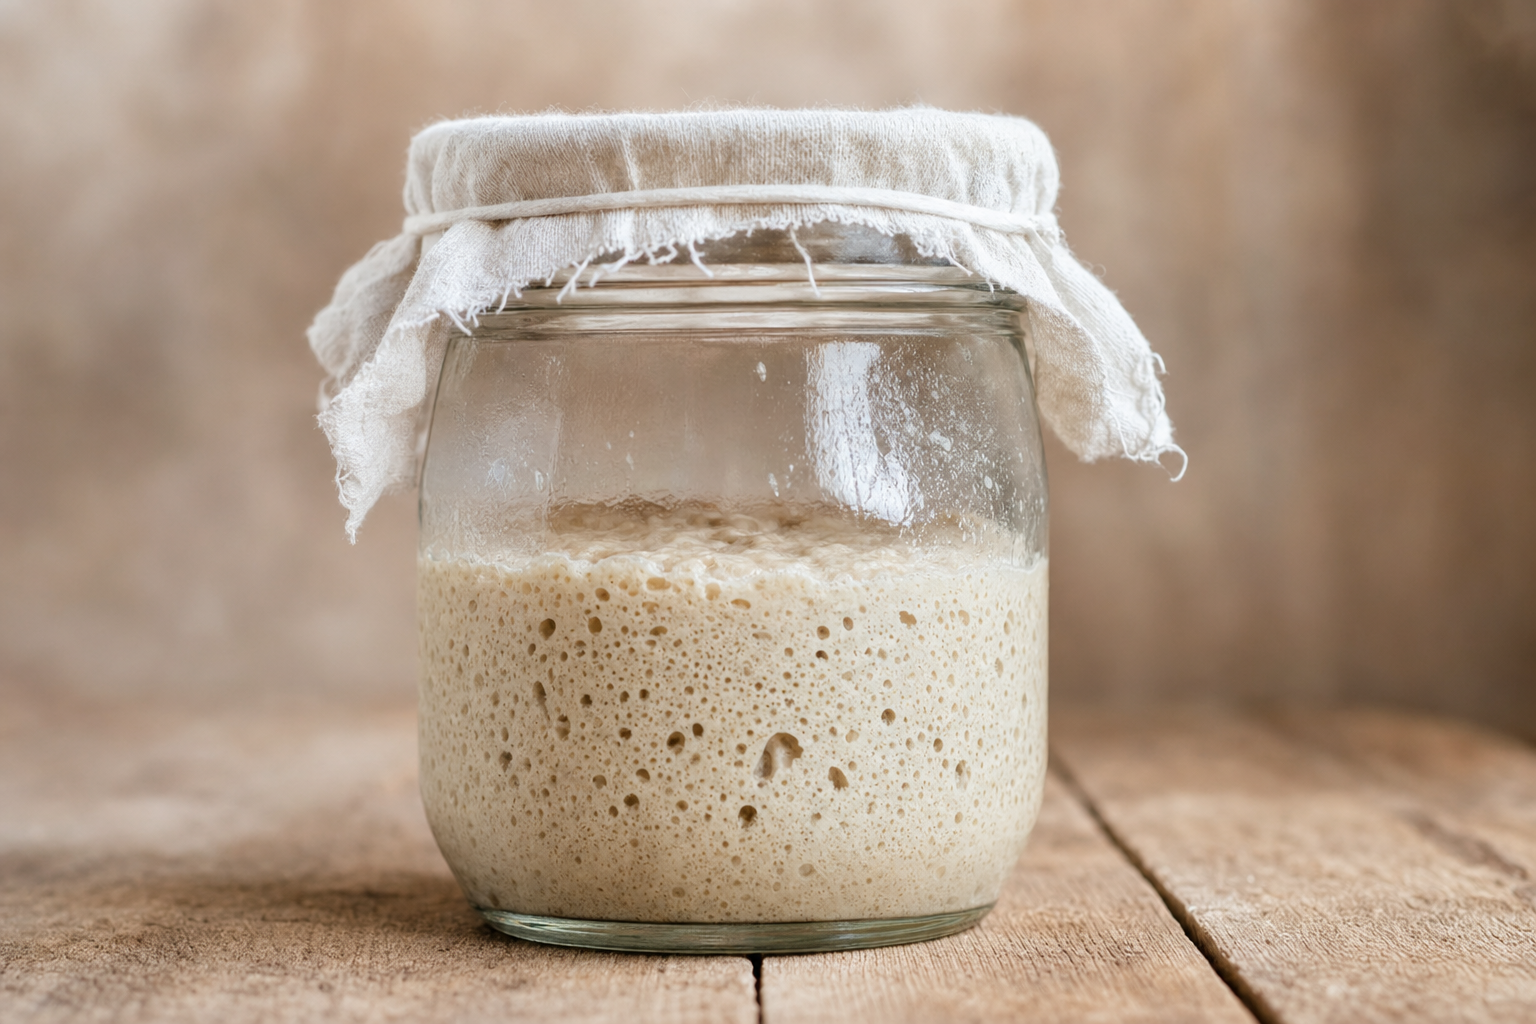
Loosely cover the jar and leave it at room temperature, away from direct sun, for 3 to 5 days. Check once or twice a day and press the cabbage back under the brine if it starts to float. It is ready when it smells pleasantly sour and tastes tangy with a clean crunch.
Chill and store
Once the flavor is where you want it, close the jar and refrigerate it. Let it chill before serving. The cabbage will continue to deepen slightly in flavor and stay crisp and bright for several weeks.
Recipe insights
A humble jar that pulls its weight
Why it fits an Eat-Lancet kitchen
From an Eat-Lancet point of view, this jar is refreshingly straightforward: mostly vegetables, almost no processing, low cost, and useful across several meals. Cabbage and carrots bring fiber, while the fermentation process adds complexity without needing extra sugar, oil, or packaged sauces. It is also a practical way to keep more plant food in reach. When the fridge already contains something sharp and ready to spoon onto lunch, eating more vegetables stops being a grand moral project and starts being lunch.
A few days of waiting, then easy wins
The hands-on part takes about 20 minutes, then the jar quietly gets on with it for 3 to 5 days at room temperature. Check that the vegetables stay under the brine, give it a taste when it starts smelling pleasantly sour, and move it to the fridge once the balance feels right to you. If your household includes people (like my children) who distrust anything described as fermented, serve it first in small amounts next to rice, potatoes, soups, or sandwiches. One crunchy forkful tends to do more convincing than a lecture on microbes ever will.
Importance of choosing the right salt & vegetables
I've been down this path, leaving the vegetables on the counter and realizing after a few days that I made vegetables taste like tchernobyl. It was -in my case- due to two reasons : using cheap salt & non-organics vegetables.
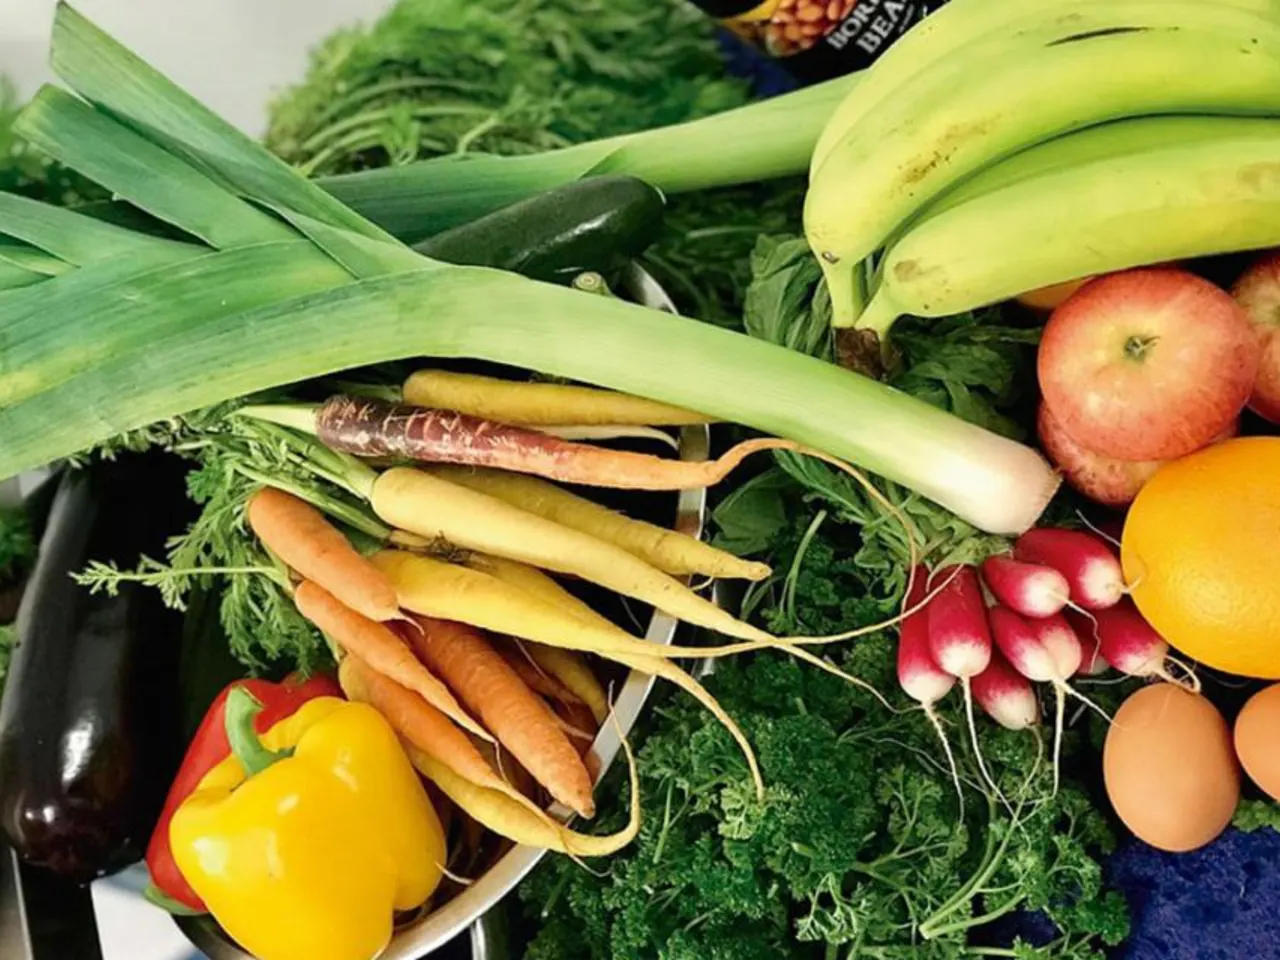
Once I made the switch to a good salt (sel de garande for example) & organic vegetables, I did not have any issues after that (maybe you will if you did not wash your hands after a big event in the toilet).


Make room for your own recipes
A little planning. More good food.
Create recipes with ingredients from our nutrition catalogue and see their nutrition and Feast EAT-Lancet alignment score. Keep your favourites, save your nutrition profile, plan meals by hand and take your shopping list with you.
Free accounts can create up to 10 recipes; a higher limit is coming with a paid plan.
Automatic meal generation and household planning are in beta, with limited access.
Comments
Be the first to comment 👇